 Sims 2 Mansard Roofing Tutorial (Views:
10,459
)
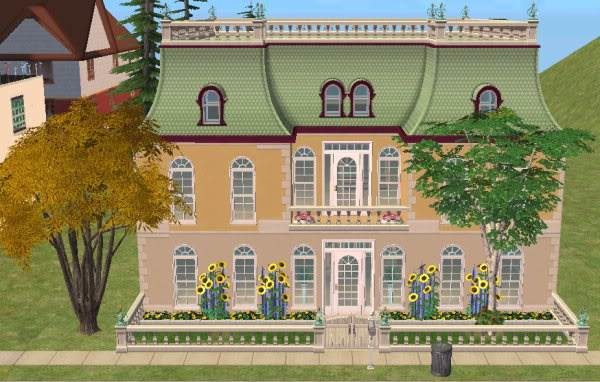
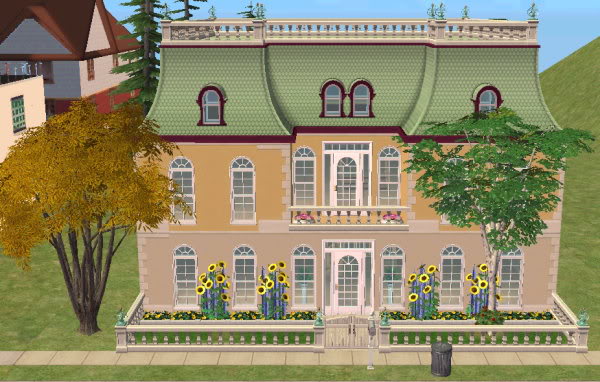
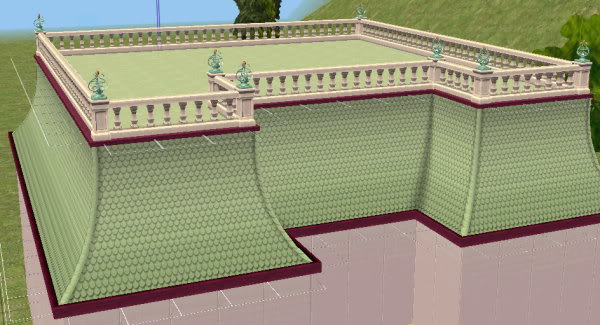
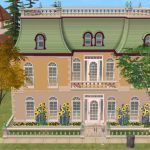
This is a basic tutorial on how to create curved, Mansard roofing to look something like this:
using the architecture tools:
What you need
The Mansion and Garden expansion pack is needed to build this roof.
The first step
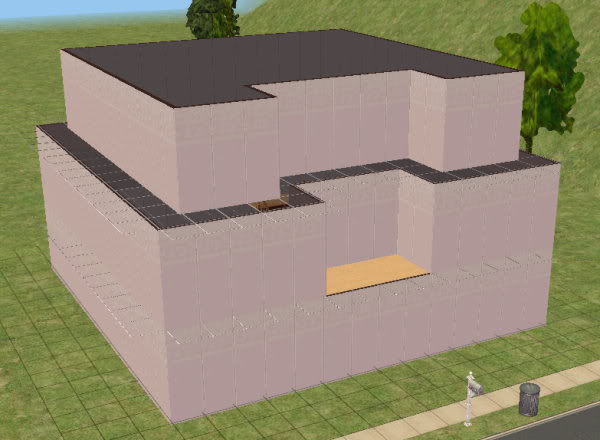
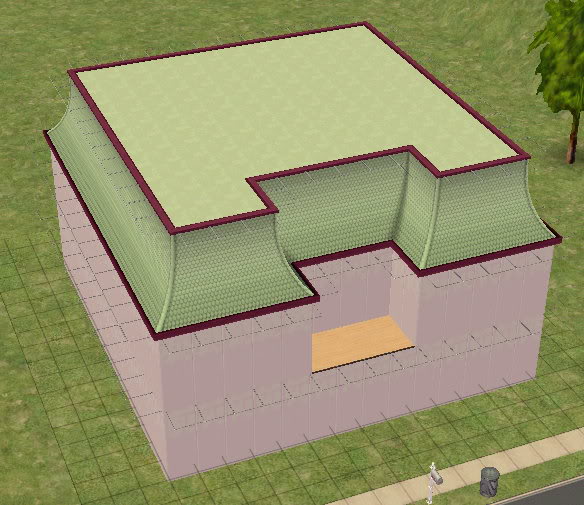
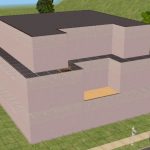
Build your lot, but instead of placing a normal roof, we are going to create a mansard roof for a better effect. If you only want two floors, make the roof on the first floor, but if you want a lot with three floors, the mansard roof will be on the second floor. When you build the second floor walls, place them one square from the edge:
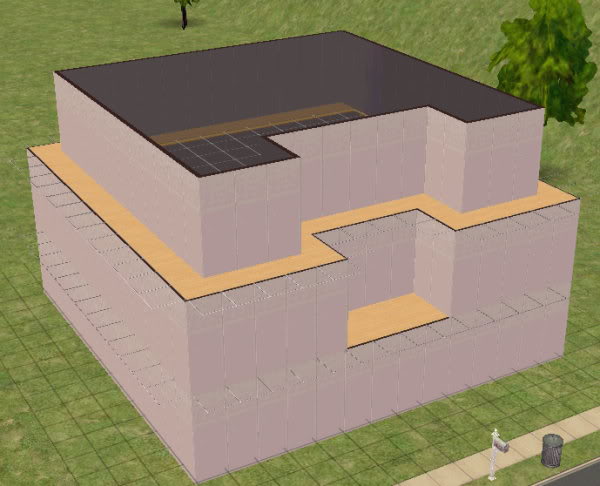
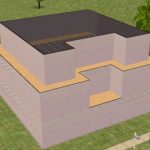
Then place floor tiles around the edge, as this will give the mansard roof pieces something to grip on to:
The roof pieces
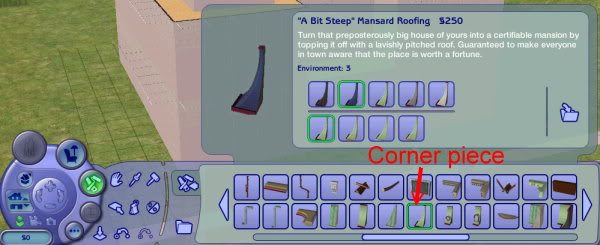
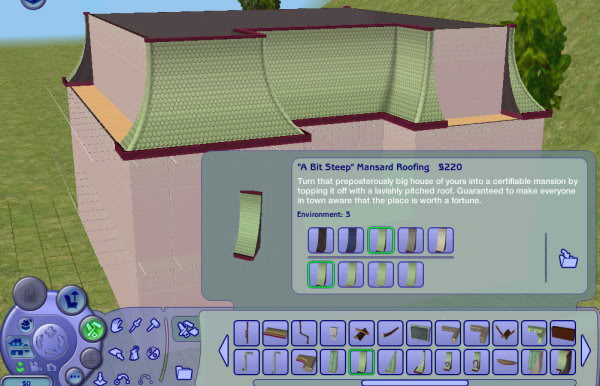
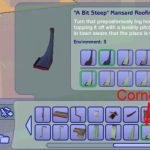
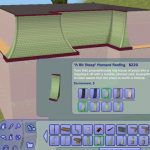
Go into the architecture category and select the corner piece, choosing your colour:
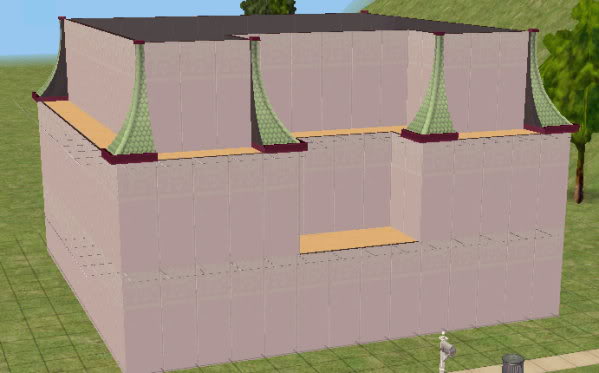
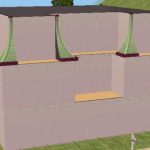
Place them at each corner, making sure they are facing the right way:
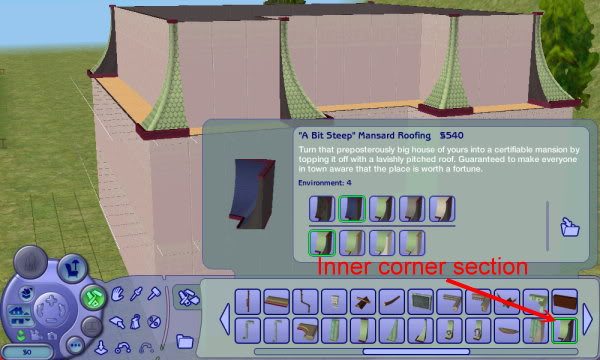
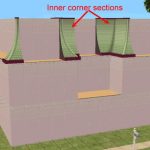
Select the inner corner sections for the parts of your roof that have the corners facing inwards:
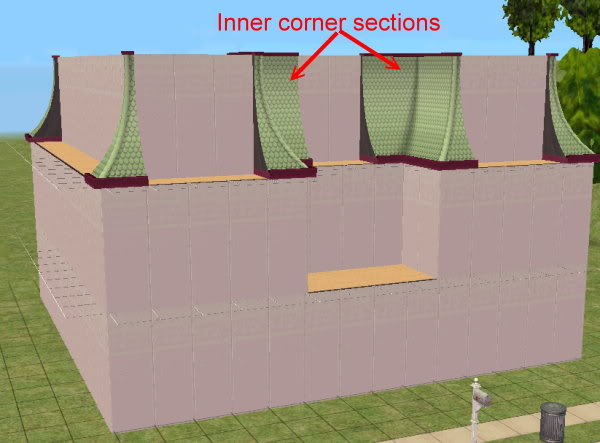
You place them on all the inner corners of your walls:
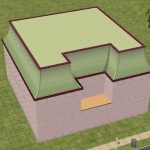
Then you add the rest of the connecting sections to the straight part of the walls:
Finishing off
Once you have finished, select whichever floor tiles you want to finish the top of the roof:
To finish
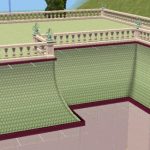
If you like, you can choose a fence/railing to go around the top for a really nice finish:
…and that’s it! You can then go on to decorate the outside of your home in any way you wish.
Required Stuff Packs:
 You must be a logged in member to download this file



I really liked the way this roofing was done, it looks hard but, Ill get the hang of it. Cheeers!
Thanks It’s really easy once you know how