 Creating Maps For Sims 2 (Views:
10,891
)

I’ve only just begun to create new terrains for the Sims 2, so this will just be a basic tutorial. One thing I will advise, though, is that you refrain from adding decorations such as trees etc., and just allow whomever installs it to decorate their own neighbourhoods. I discovered by trial and error that lots of lush trees don’t look so good in the desert, dirt or concrete versions!
Okay, here goes – start up Simcity 4 and click the ‘Region View Options’ button:
Click ‘Create New Region’:
There are small, medium and large areas in which to create cities – Sims 2 will only recognise the small ones, so click a small square to create a new city:
Before we go any further, please note that there is NO undo facility! If you make a mistake, you will have to re-load from your last save point. Save regularly!
When your city loads, you will be in ‘God Mode’. This is where you can create your terrain:
The image below shows you how to save and then get back to ‘God Mode’:
Now, the city is bigger than it looks, so don’t be afraid to go wild with the terrain, but don’t raise it too high or it won’t look good in-game!
If you hold down ‘Shift’ while you press a number on your keyboard, it changes the size of the area to be modified.
It will take practice and a few false starts, but once you have created your terrain, you will need to go into ‘Mayor Mode’ and establish the city:
Hold down Ctrl + Alt + Shift and click on the God Mode button to get back if you want to alter your terrain a bit more.
Now create your roads. They should ideally be on a flat surface:
You can test out your terrain now if you want. You will find it somewhere in: ‘C:\Users\Angela\Documents\SimCity 4\Regions\Your New Region\New City name.sc4’. Copy this file to: ‘C:\Users\Angela\Documents\EA Games\The Sims 2\SC4Terrains’. I renamed mine:
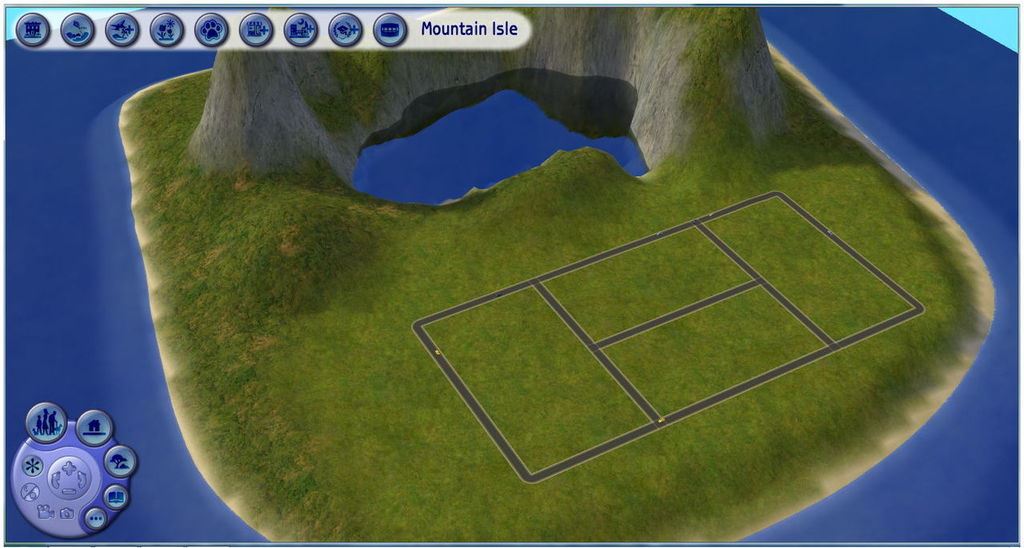
Open up your Sims 2 game and go to create a new neighbourhood. Don’t worry about the image as we haven’t created any previews, yet:
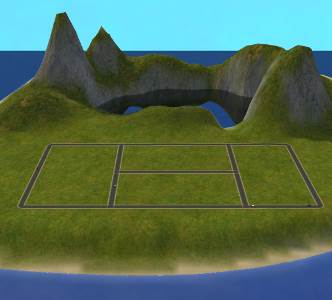
If you’re not happy with it, you can keep modifying it and creating new neighbourhoods to test it out until you are satisfied. Then all you need to do is take screenshots of the terrain in it’s different forms, i.e. lush, desert, dirt and concrete. The screenshots should be around 300px by 225px. Name them:
NewWorld.png – this is whatever you want the default image to look like, so copy your favourite one and name it this.
NewWorld_lush.png
NewWorld_desert.png
And if you have Nightlife:
NewWorld_dirt.png
NewWorld_concrete.png
The image name should match the terrain name.
For a more in-depth tutorial, you can see this thread:
https://modthesims.info/showthread.php?t=118117

You must be a logged in member to download this file


Recent Comments