 Sims 2 tutorial – Creating eyes using an image (Views:
1,610
)

How to create new eyes for the Sims 2 by using an actual picture of an eye.
Click here to view tutorial
What you will need:
Sims 2 BodyShop
Image editor – I’m using Gimp
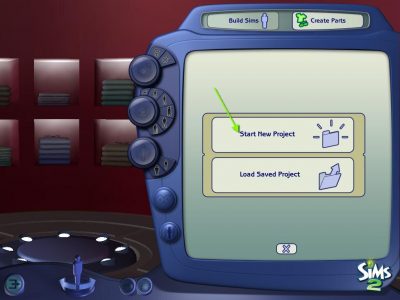
To start, you need to find a good image of a full eyeball. A Google search should bring up something you can use. Once you have it, open up BodyShop and click on ‘Create Parts’:
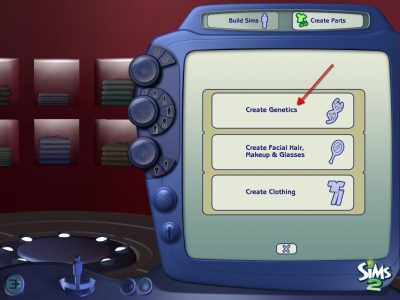
Click ‘Start New Project’ and then ‘Create Genetics’:
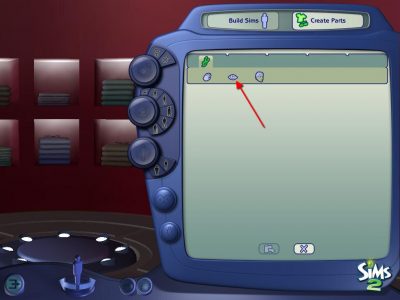
Select ‘Eye Colour’:
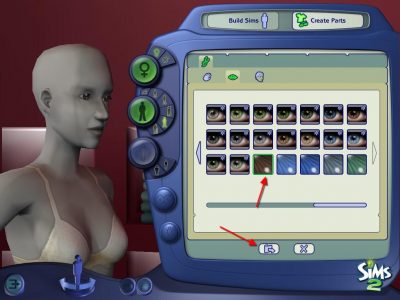
Select any of the default eye colours and export it:
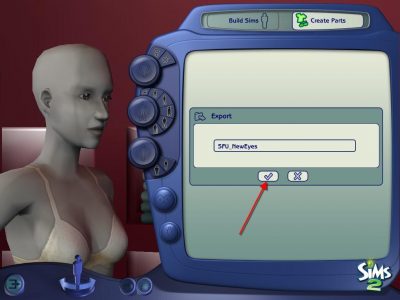
Give it a name and click the tick:
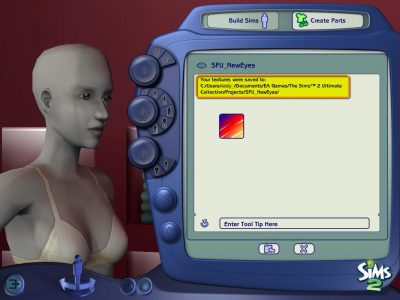
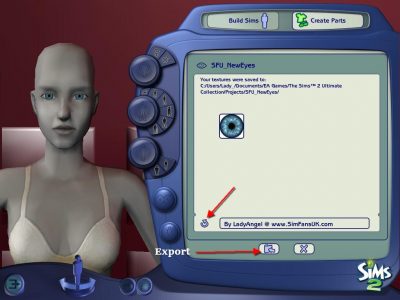
Take note of the export location:
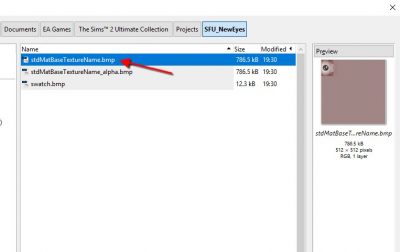
Open up your image editor and find the ‘stdMatBaseTextureName.bmp’ which will be in the folder you just exported:
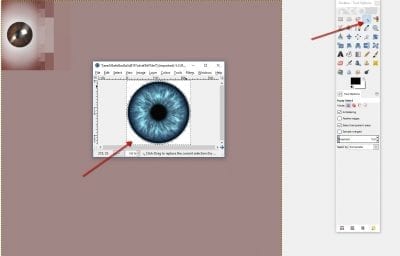
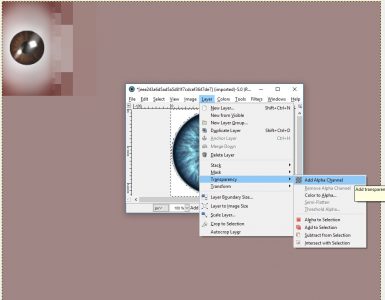
Open up the eye image. Use the fuzzy select tool to click on the areas around the eye, and then add an alpha channel:
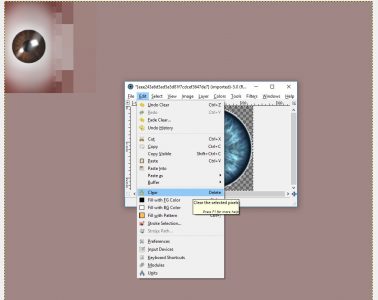
And then click ‘Clear’ from the ‘Edit’ menu. This will make the area around the eye transparent for easier placing:
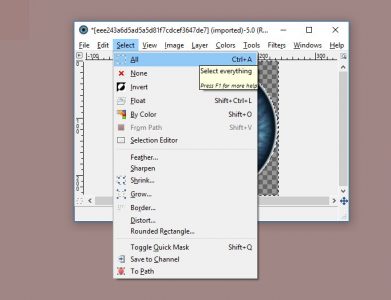
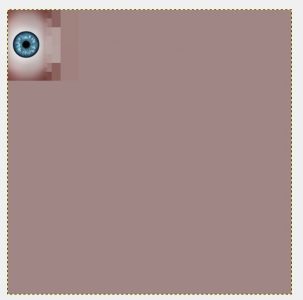
Select all, and then copy and paste the image over the original eye:
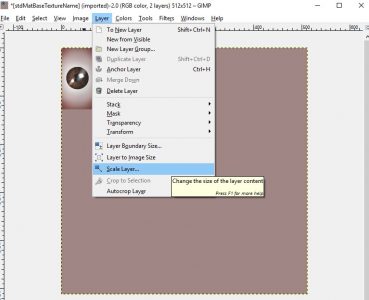
and resize it to fit over it:
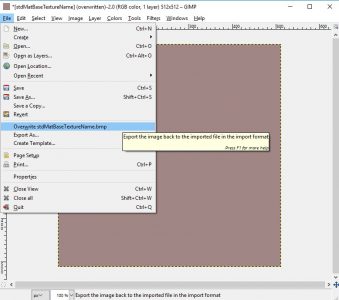
Overwrite the image and refresh the image in BodyShop:
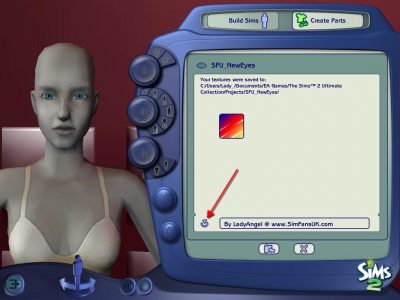
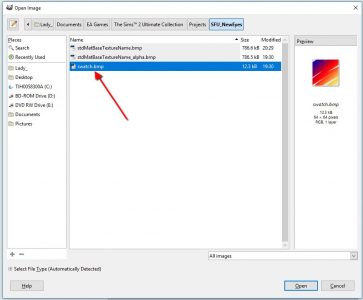
Now surf to the same folder you exported before and find the swatch file:
You can either edit this, or create a new swatch image with the dimensions 64×64. Edit it how you like, but make sure you export it over the original swatch file. This file is what creates the preview within BodyShop. Refresh BodyShop again to see the changed swatch:
That’s all there is to it! Now you just need to export the file into your game and create a new Sim with the new eye colour:

You must be a logged in member to download this file



You can actually create lipsticks in the same way. Just find a picture of a lipstick and resize and paste it over the image of the lips that you extract in the same way as you do the eyes.