 Creating Custom Careers For Sims 4 (Views:
1,226
)

Click To Read Tutorial
What You Will Need
Neia’s online Create-a-Career tool. Register for free here.
WinRar – Needed for easier packaging of the career files later.
s4pe, the Sims 4 Package Editor. Visit the page and download the .exe file for a Windows installation:
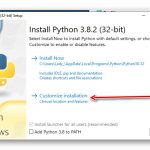
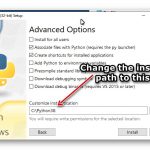
Python – Download and install straight into your ‘C’ folder:
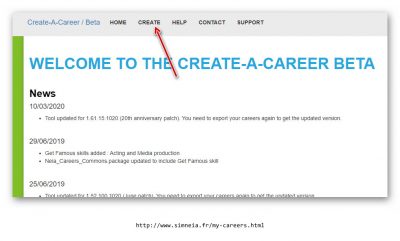
Okay, to create the career, go to Neia’s online Create-a-Career tool and click the ‘Create’ link at the top of the page:
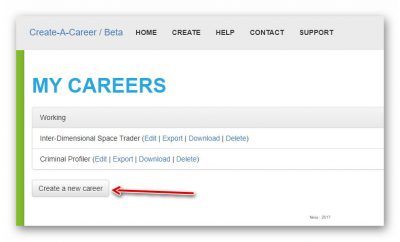
Click the button to create a new career:
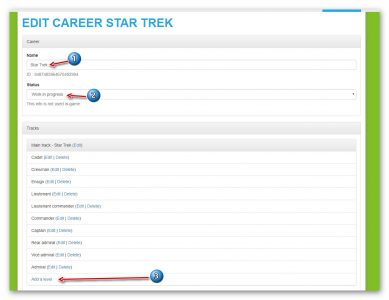
Give your career a name and make sure the status is ‘Work in progress’. Then add levels to your new career:
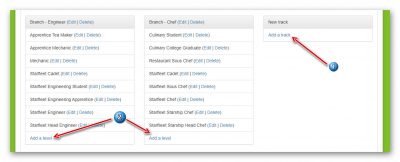
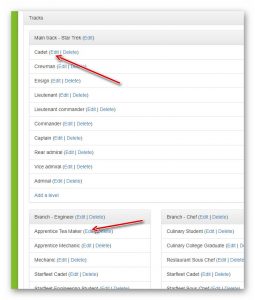
Now, if you wanted to, you could also add different tracks to your career, as shown below. These tracks can also have different levels so you can make your way up the track:
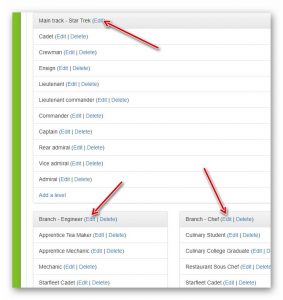
Now click the ‘Edit’ link next to your main career and each track to add images for them:
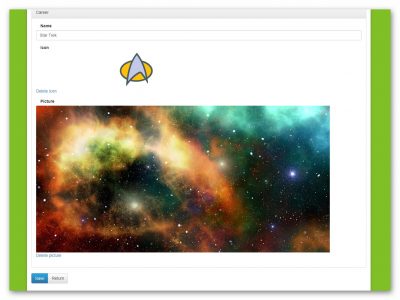
Please make sure you use images that are free to use and not copyrighted. I use Pixabay, Iconfinder and other free icon websites. The above images are for illustrative purposes only. For your main, large image, I suggest you use an in-game screenshot, but any free-to-use image would do. Just make sure they are the correct sizes.
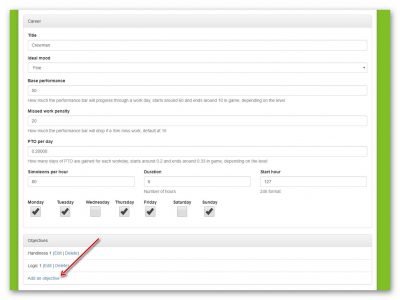
Now click the edit button next to each level and edit all of the details for each one, stipulating the skills you would need to be promoted to that level. For example, in my main career, to be promoted to ‘Crewman’, my Sim would need 1 skill in ‘Handiness’ and 1 in ‘Logic’. Please make sure you save your level before adding objectives or your data will be lost:
Title – you can change the title of this level here.
Ideal Mood – Please be aware that EA took out the ideal mood function from the non-active careers in game. Even though this still shows as editable in the Create-a-Career tool, only active careers like Doctor, Scientist, and Detective now have ideal moods that actually function in game.
Base Performance – How much the performance bar will progress through a work day, starts around 60 and ends around 10 in game, depending on the level. Lower levels in the game progress quickly, so the Base Performance number is higher, to indicate a faster speed. As players progress through the levels, the Base Performance number should be smaller to make the levels last longer.
Missed Work Penalty – How much the performance bar will drop if a Sim misses work, default at 15. If you increase this number, the performance bar will drop more quickly.
PTO per day – How many days of PTO (paid time off) are gained for each work day. For example, it starts around 0.2 and ends around 0.33 in game, depending on the level.
Simoleons per hour – How many Simoleons your Sim will earn per hour at this level.
Duration – Number of hours worked per day.
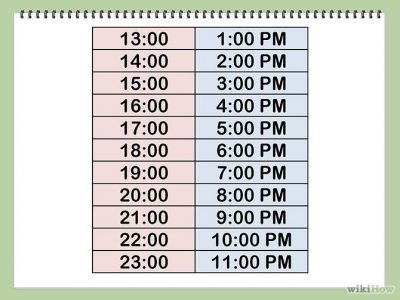
Start hour – This is based on a 24 hour clock, and you enter only the hour, no minutes. For example, 8:00 AM is entered as 8, while 2:00 PM is entered as 14:
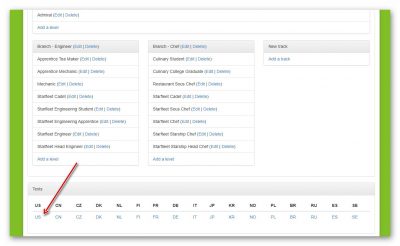
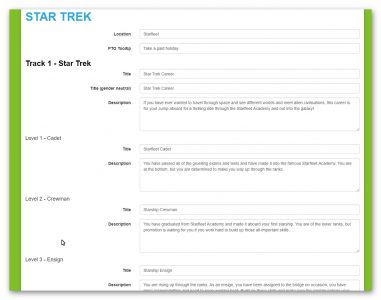
Once you have done this for all of your levels, you can then go back to the main career page to add your language descriptions along with any translations. The location is where you will be working, so can be the name of the business etc. The PTO tooltip is what you want to see when taking paid time off. “Take a paid holiday” or something similar is recommended:
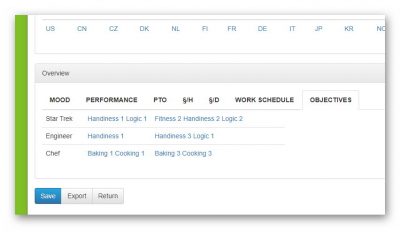
When you have finished everything, go back to the main screen at the bottom, and make sure all of your objectives and so-on all flow well. I haven’t filled all of mine in, but you can get the idea:
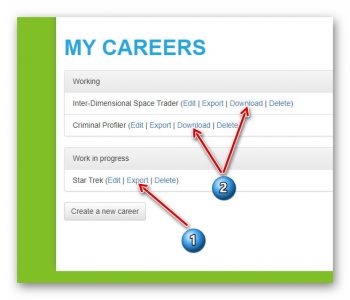
Now, back at the main page, you need to export your career. After a while, the download link for it will show next to it’s title:
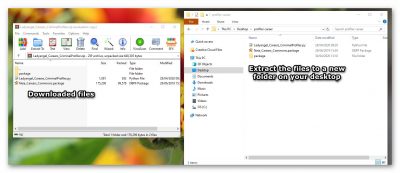
I haven’t finished my Star Trek career, so I’ll use one of my others. Download the file and extract the contents to a new folder. I always create a folder on my desktop so I can easily find it:
Your package may or may not come with a file called ‘Neia_Careers_Commons.package’, it apparently depends on the career and/or objectives you have created.
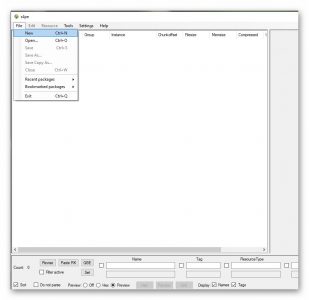
Open up the s4pe (Sims 4 package editor) and click ‘File/New’ from the top menu:
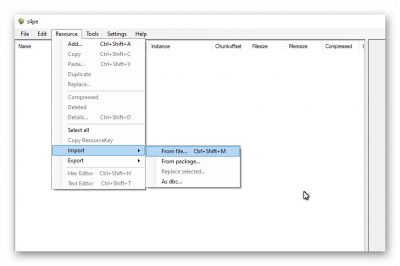
Then from the top menu click ‘Resource/Import/From file’:
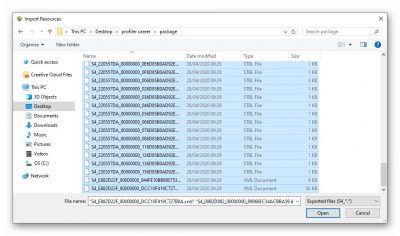
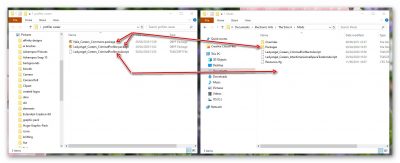
Browse to the new folder you created, and the ‘Package’ folder inside of that. Select all of the files and import them:
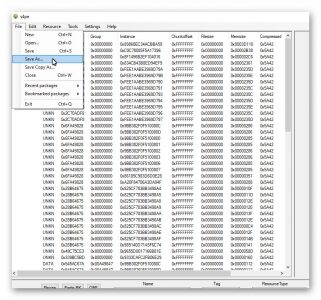
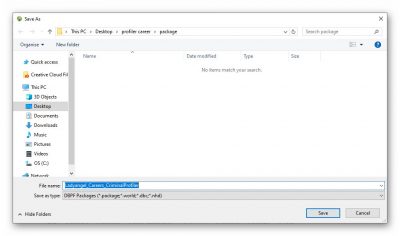
Again from the top menu, ‘Save as’:
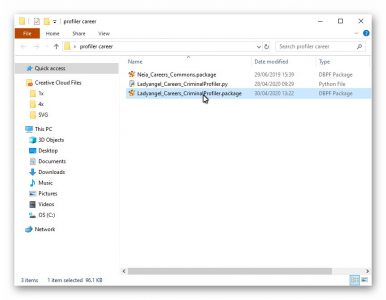
Save the package file to the same folder:
Note: I accidentally saved the file inside the ‘Packages’ folder, but it needs to be in the same place as your other files, as in the above image.
The next part involves the Python program you downloaded earlier. It is required in order for your Sims to be able to use the Paid Time Off function on the phone, so please don’t skip it, it’s not too complicated if you just follow the instructions below.
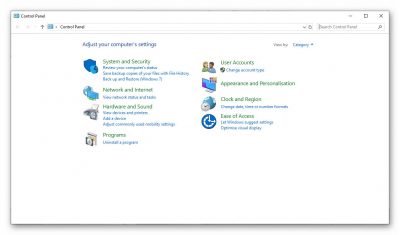
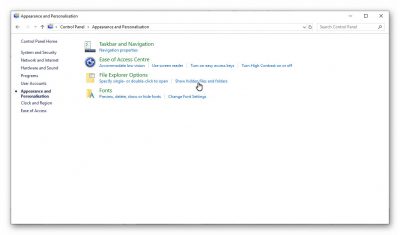
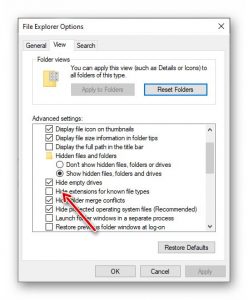
First of all, if you can’t see file extensions when viewing files, such as .zip, .py etc, you will need to adjust your Windows settings to display them. Go to ‘Control Panel’ and ‘Appearance and Personalisation’:
Then ‘Show hidden files and folders’:
Untick ‘Hide extensions for known file types’:
Click ‘Apply’ and ‘OK’ and close down the control panel.
Now, back to your career files.
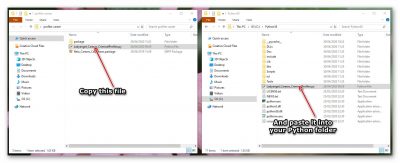
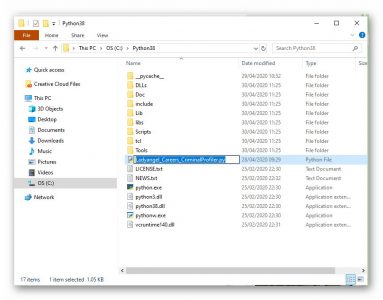
Open up your career folder and the Python folder side-by-side to make things easier. Remember, Python was installed in C:Python38. Copy the file ending in .py from your career folder into your Python folder:
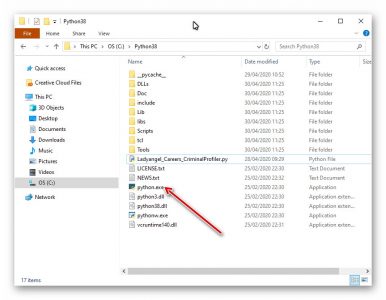
Now double-click on the python.exe file to open it up:
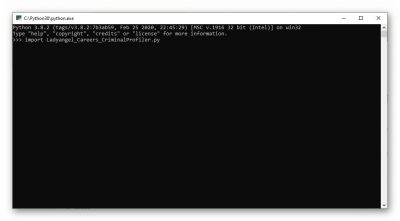
In the command window that pops up, you need to type ‘import’ and then the name of your file. Copy the name of your file and paste it into the window after ‘import’ so it look something like this:
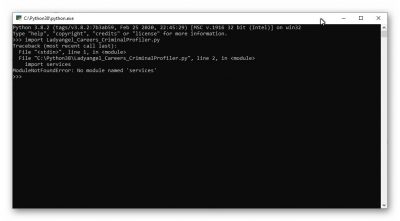
Then press the ‘Enter’ key on your keyboard. Don’t worry if you receive an error message like the one shown:
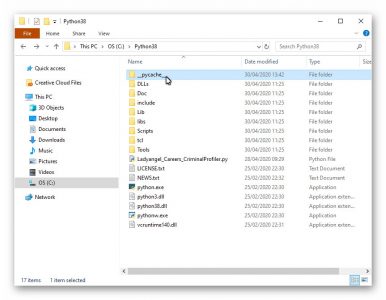
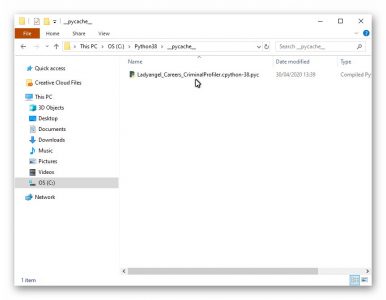
This creates a file in the ‘__pycache__’ ending in something like: ‘.cpython-38.pyc’:
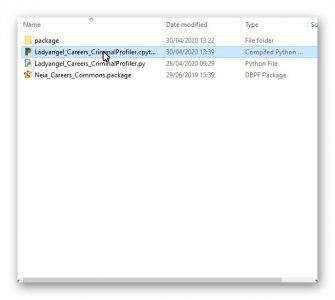
You can close down the Python window. Now you can either cut or copy that file and place it in your main career folder:
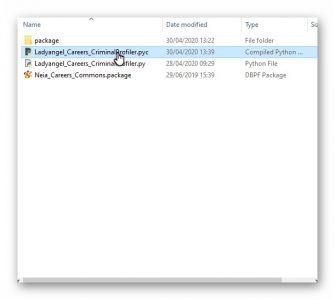
Remove part of the file extension ‘.cpython-38’ from the end of the file so the file ends up with just the extension ‘.pyc’:
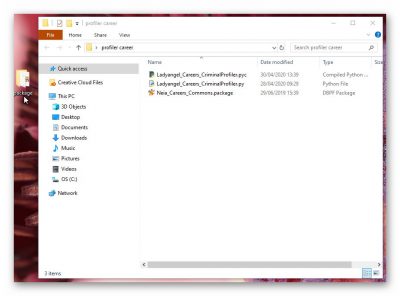
At this point, you don’t really need the ‘package’ folder inside your career folder, but I don’t delete in case I make a mistake. Instead, I just drag it onto my desktop so it’s out of the way:
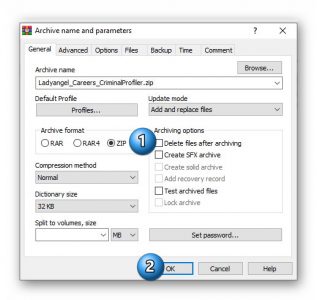
Now I use WinRar for this next part as it’s easier and creates the package with the correct name, but you can use any similar program.
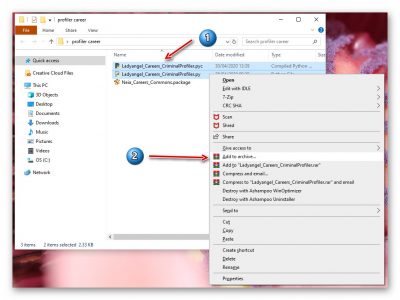
Select both the .py and the .pyc files. Right-click and select ‘Add to archive’:
Select ‘Zip’ and ‘OK’:
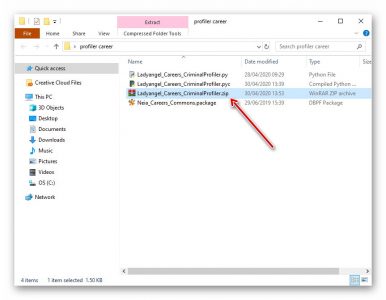
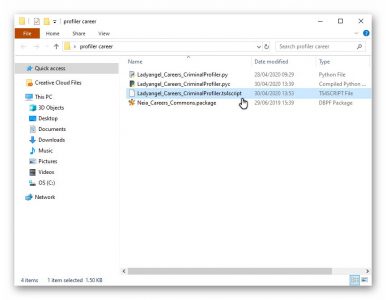
Now you should have an extra file in your folder with the .zip extension. Change the .zip to .ts4script and confirm on the window that pops up:
Whew, that’s the hard part over! Now to install the career into your game!
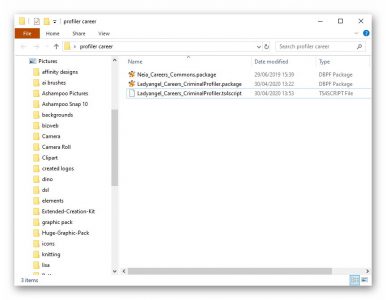
At this point, you can delete or move the .py and .pyc files from your folder to save confusion, and then you are only left with the installable files:
To install, simply open up your Sims 4 mods folder: C:UsersDocumentsElectronic ArtsThe Sims 4 (or wherever your documents folder is).
Place the script folder into ‘Mods’ and the package files into ‘Mods/Packages’:
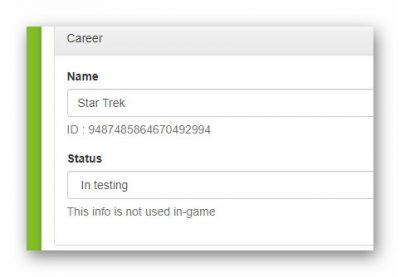
All that’s left is to test your career in your game! If you want, you can go back to the career creator and change it’s status to ‘In testing’:
Hopefully your career will show up in-game and work correctly. If not, please check all of the steps to make sure you didn’t miss anything or do anything wrong:
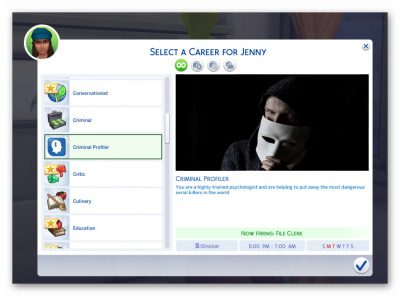
In-game, select a Sim. Click on their phone, then ‘Work’, then ‘Find a Job’:
Hopefully your new career will show up and your Sims can have fun exploring a new direction in their lives!
I hope you found this tutorial easy to follow. I’m nowhere near an expert on the Sims 4, so if you have any feedback or any issues with this tutorial, please let me know in the comments below.
Thank you for reading!

You must be a logged in member to download this file




Recent Comments