 Sims 2 – Adding Drop-Shadows to Objects (Views:
3,601
)
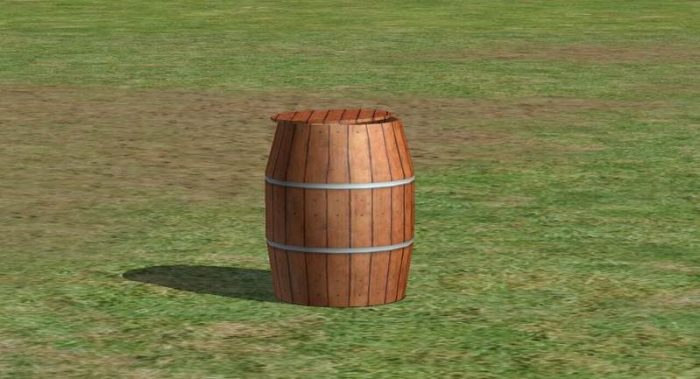
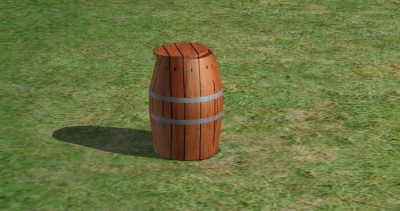
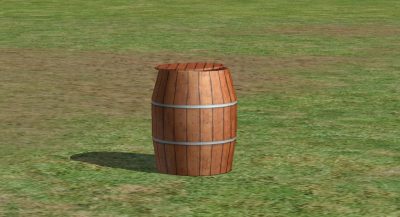
First of all, let me clarify – this tutorial is not about creating wall and floor shadows for your meshes; that is beyond me at the moment and something I intend to work on. It’s also not a meshing or recolouring tutorial, you can find those elsewhere. This tutorial is about making your created objects a tad more realistic by adding drop-shadows. For instance, my barrel here:
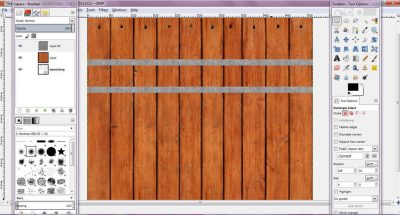
looks okay, but it could look better. I’m going to add a drop-shadow just below the bands. Here’s how – open up Gimp and import the image you have for whatever you created:
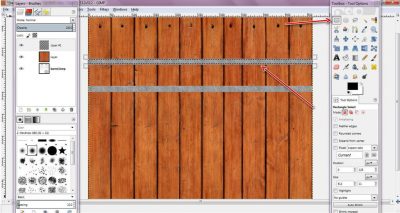
I used the rectangle select tool to select just inside the band that I want to create the shadow for:
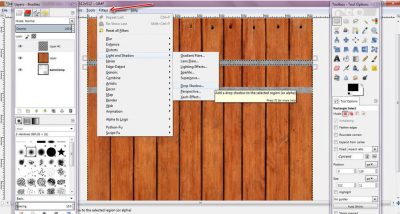
Go to ‘Filters/Light and Shadow/Drop Shadow’:
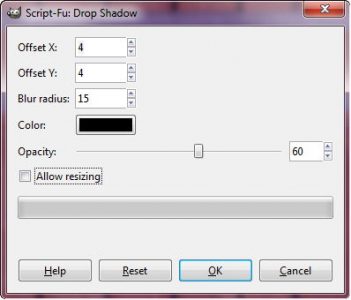
In the box that pops up, make sure ‘Allow resizing’ is unchecked then click ‘OK’:
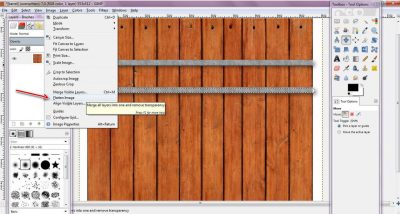
I did the same for the bottom one, then clicked ‘Image/Flatten Image’ to merge the layers:
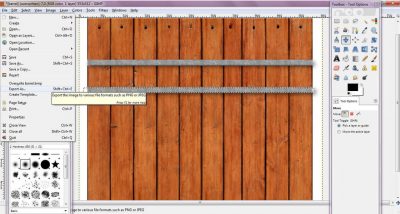
Go to file, and either export as another image, or overwrite the main one:
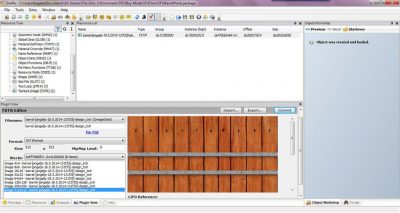
Import the texture image to your mesh in SimPE:
Save it to your game and see if you can tell the difference:
Okay, it’s not amazing, and I’m sure there are tutorials out there that are more in-depth and can show you how to add more detail, but this is a start, anyway. ![]()

You must be a logged in member to download this file

It is very interesting because it is using Gimp. Since I bought Photoshop 7 almost 15 years ago, I simply stopped looking in other programs I have, including Gimp. I always use the tools “Burn”-“Dodge” to make shadows because it allows you shadowing textures free-hand. It is much easier to add engraving shadows mainly over plain colors when you first burn the surrounding area you want to highlight so that it gets a darker tone, then you use the dodge tool to create lines strategically placed. The visual result is that the dodged lines project out from the dark area and simulated protruded shadows. It was this technique I used to recolor the Base Game Quaint Chair. To add floor or wall shadows to an object you need to add “Plane” mesh subsets to your object mesh. They are simple square planes named as “ground shadow”, “East, West, South or North shadows”. Most of the game objects already have such subsets. You need to create a black and white shadow texture where black is empty and white projects shadows on the ground or wall. The amount of transparence used in the white texture decides the visibility of the shadow, for example if you want to project a shadow around a lamp that is lit, you create a white circle where the center is completely white and the borders show increasing transparence. You get such effect by creating one black layer and add a second layer containing a white circle. Then you can decrease the visibility of the borders of the white circle in a diffuse way. The same with the walls. Normally I think that those shadows are just a decorative pain and I use to black the existing ones. For my kind of game play, shadows do no good.
I’ve never used that method before. I’m very nervous about trying new things, but I may give this a go as it would give me greater control over which parts of the image are shadowed and how, thank you! 🙂