 Sims 2 Meshing Tutorial – Simple Dining Chair (Views:
10,388
)
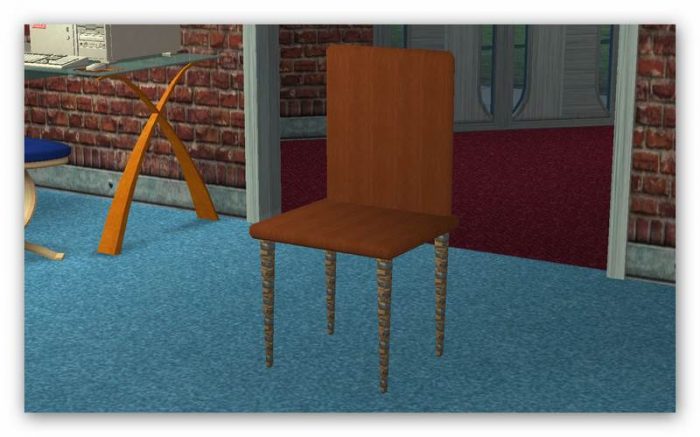
Extracting the mesh
What you will need:
SimPE
Wings 3D
UV Mapper
Gimp – Or any image editor you are comfortable with
CEP
Legacy Nvidia DDS Utilities – Download and install them, just like any Windows program, then start SimPE, select the menu ‘Extra’, ‘Preferences’ and fill in the field ‘Nvidia DDS Tools’ with the exact installation path (you can use the “Browse” button to find the folder where the DDS Utilities are installed).
Managed Direct X – Required for working with Sims 2 meshes within SimPE
Please note – meshing is not easy, it takes patience and is a constant learning curve. I’ve just scratched the surface myself and am learning all the time. Each time I learn something new, I’ll post a new tutorial. 🙂
This tutorial uses all 100% free programs!
This tutorial will show you how to make a chair and make sure it’s the right height for our Sims to sit on.. We’re not going to do anything fancy with the design, it’s just going to be a plain dining chair. This tutorial is for absolute beginners and is just to get you used to the process, so I suggest you follow the entire tutorial a few times until you get used to what’s involved.
If at any time you need to stop, or find yourself getting frustrated, or if something just won’t work for you, stop, take a break and come back to it later. You will begin to hate meshing if you don’t, and you should love it! 😀
Okay, here goes:
First of all, we are going to clone an object from which we can extract the mesh (3D file) to work with. As we are going to create a dining chair, we need to clone a dining chair so we have the proper dimensions and behaviours without having to do much to it. So, open up SimPE and, if you haven’t done so already, change the settings so that only the base game objects show. This is so the object we create will be base game compatible.
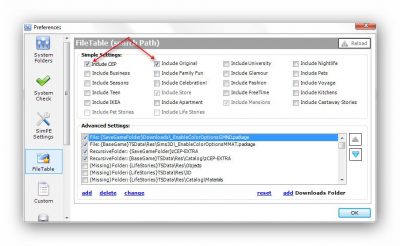
From the top menu, select ‘Extra’ then ‘Preferences’. In the box that pops up, click ‘File Table’ and make sure only ‘Include CEP’ and ‘Include Original’ are selected:
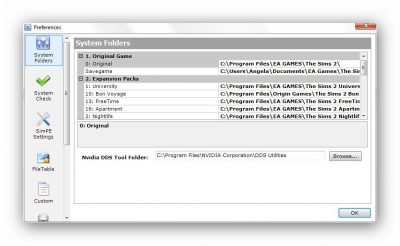
You also need to make sure SimPE knows where you installed DDS Utilities. You can do this by clicking ‘System Folders’ in the same box and browsing to the utilities:
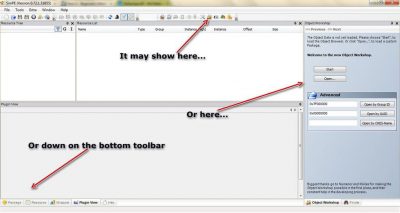
Now that’s out of the way, we can begin properly. Click ‘OK’ and open the ‘Object Workshop’ if it’s not already showing in SimPE:
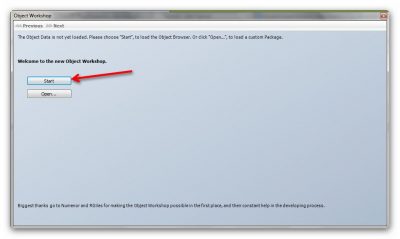
You can also get to it by the top menu: ‘Tools/Object Creation/Object Workshop’. Click ‘Start’:
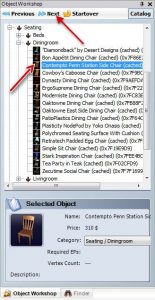
We need to select categories by clicking the little crosses next to each one to open them. Click ‘Seating/Diningroom’ and select the ‘Contempto Penn Station Side Chair’ and click ‘Next’:
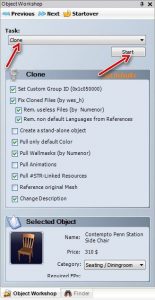
Click ‘Clone’ and then ‘Start’:
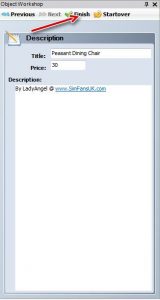
Fill in whatever details you want, and then click ‘Finish’:
Change the first part of the name, click ‘Update’, then ‘OK’:
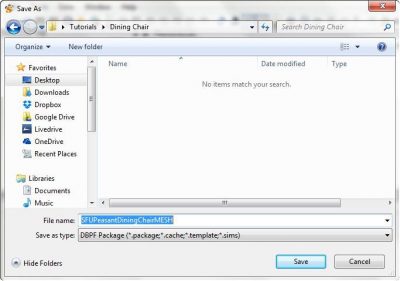
Save it in a folder where you can easily find it, such as on your desktop. Give it a name – I always place ‘MESH’ on the end of mine in case myself or someone else wants to do recolours; then you always know which is the main mesh file:
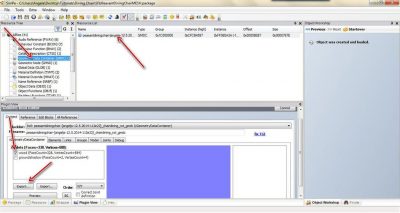
Now we are going to extract the mesh (3D file) from the chair so we can use it as a template to work with. In the top-left pane, you can see the Resource Tree. Click on ‘Geometric Data Container’, then click on the file in the right window. Make sure just ‘wood’ is selected at the bottom, and then click ‘Export’:
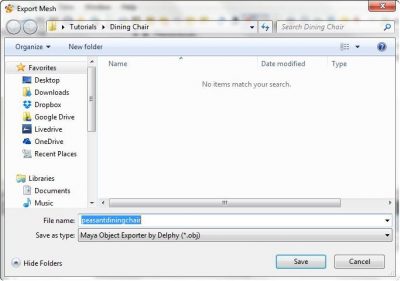
Save it to the same folder. You can either close down SimPE and open it up again later, or keep it open while we work with the mesh:
Creating the mesh
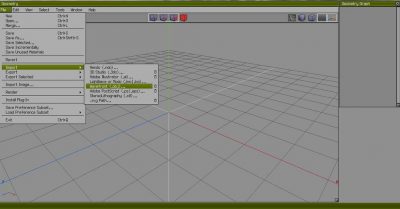
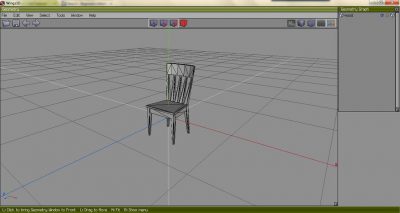
Open up Wings 3D. From the top menu, click ‘File/Import/Wavefront (.obj)’ and import the mesh file you just exported from SimPE:
First, a quick word about the little cubes at the top:
I’m going to call these cube 1, cube 2, cube 3 and cube 4. Cube 1 will show you the vertices, or connecting points, on the object. Cube 2 shows you the lines, cube 3 lets you select single faces, and cube 4 selects all of the object. That’s a need to know, but not so much for this tutorial. 🙂
Here is a page that tells you how to control the camera in Wings 3D. You may need to keep referring to it. Note: If you do not have a scroller on your mouse, you are going to have to use the hotkeys. You can find these in the ‘Help’ menu at the top.
Rolling the scroller allows you to zoom in and out. If you click the scroller, you can move around the object quite freely. Just click the left button to get back to normal. If you keep the scroller pressed, you can move the view from side to side. It’s up to you to get used to using the mouse and/or keys with the software, but there are tutorials around to help:
https://www.wings3d.com/paulthepuzzles/aardvarks.html
https://www.wings3d.com/?page_id=87
The first thing we have to do is set the height of the seat so we can make sure our own chair is suitable for our game. We do this by creating a bounding box. Make sure cube 3 at the top is selected. First, we need to select the chair from the seat down by clicking and dragging the mouse around it:
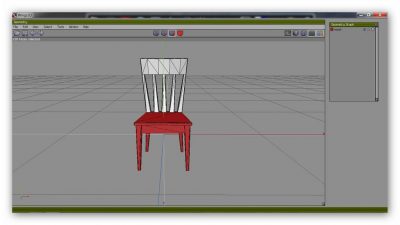
From the top menu, click ‘Tools/Bounding Box/Save Bounding Box’:
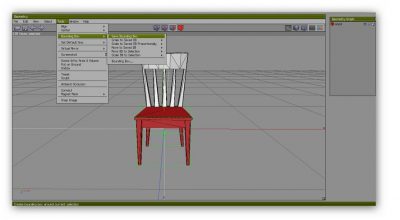
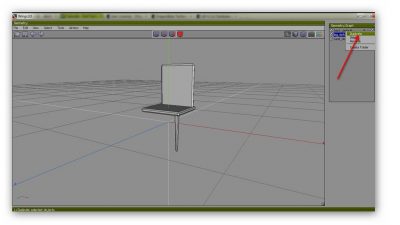
Now we can delete the chair. In the Geometry Graph window, right-click on the chair and select ‘Delete’:
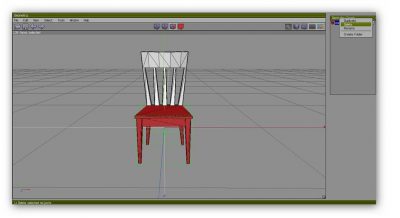
Now we’re left with just the bounding box, which is our sizing template:
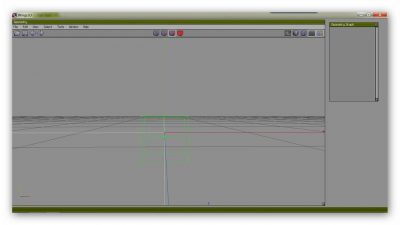
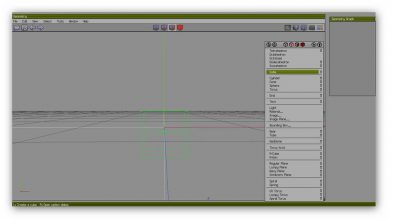
To create the seat, we’re going to need a cube. Right-click anywhere in the main window and select ‘Cube’:
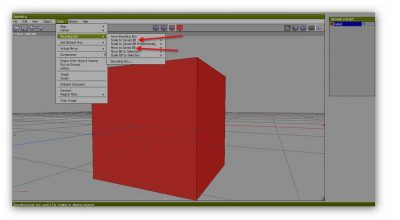
Okay, the cube is far, too big for our needs. However, this is where the bounding box comes in. Select your cube in the Geometry Graph window. From the top menu, click ‘Tools/Bounding Box/Scale to Saved BB/All’, and then again to ‘Move to Saved BB/All’:
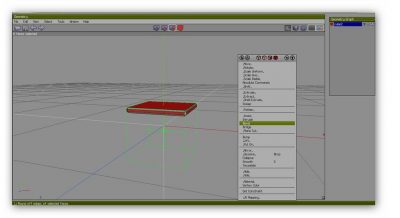
Now we have a manageable cube to work with. Making sure cube 3 at the top is selected, de-select the cube from the window, and then select the bottom face of the cube:
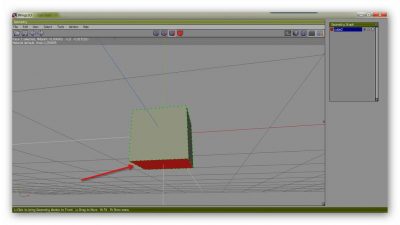
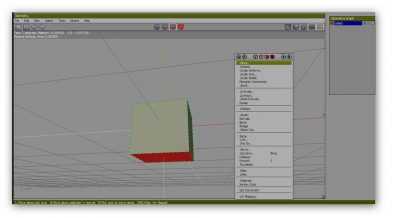
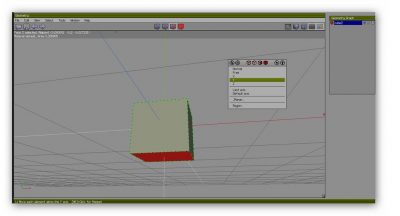
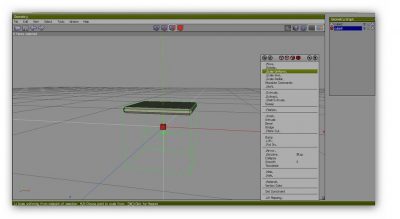
Right-click in the main window and select ‘Move’, and then ‘Y’ to move the selected face up (or down):
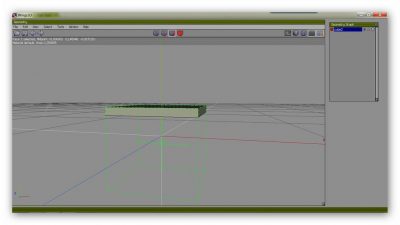
Move your mouse either left or right to get your seat to the depth you want:
You may want to bevel the chair slightly to give it a more curved/comfortable look:
Now for the legs. Create another cube, select it, right-click on the main window and select ‘Scale Uniform’ to get it to the width you want:
At this point I would right-click and move it down (Y) so it rests on the bottom of the bounding box. That will be the floor in your game:
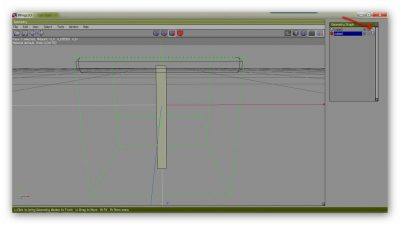
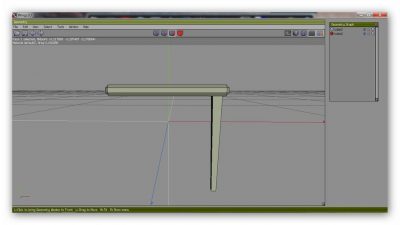
Select the top face of the leg and move it up. If you need to see that you have gone far enough, you can toggle the seat to ‘Wireframe’ so it becomes transparent and you can see where the leg goes to:
Also, you can click on the bottom face of the leg and scale uniform to pull it in so it gives the leg a bit of shape:
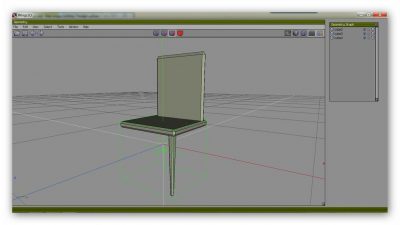
You can leave it here if you just want a stool, or you can create a new cube for the back of the chair. Just use scale uniform, move etc. to get it the shape and position you want. I’ve bevelled the back and legs for a more sculptured look:
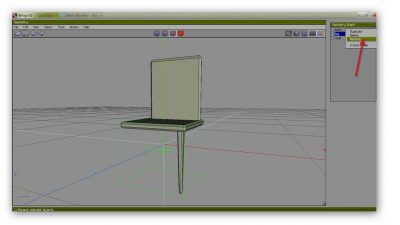
At this point I would rename each section so you can more easily identify them. Do this by right-clicking on each part and selecting ‘Rename’:
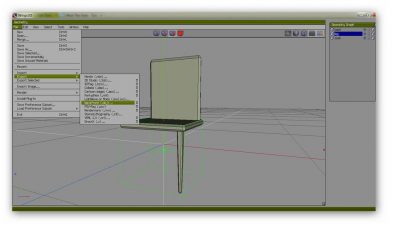
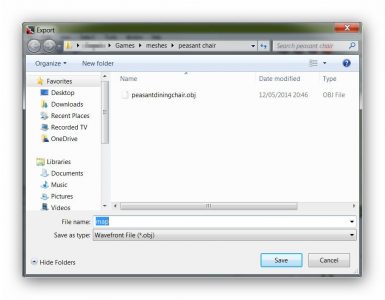
Now export your mesh and save it as something different to the original name. I always use ‘Map’ as this is the mesh we are going to map with UV Mapper:
Mapping the mesh
We’ll leave the mesh as it is for the moment. We only need to map one leg as all 4 are going to be the same. Open up UV Mapper. Maxmise it, then from the top menu click ‘File/Load Model’ and browse to the map file you just saved. Click ‘OK’ in the box that pops up, and then you will be left with a more or less blank page:
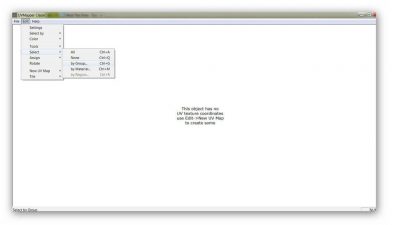
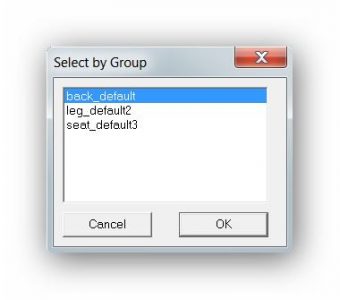
Now, mapping will tell the game where to apply the texture on your object, so it’s important to get it right. I’m not very good at mapping, but with practice it does get easier. We’re going to map each section of the chair, so from the top menu click ‘Edit/Select/By Group’, then choose the back of the chair:
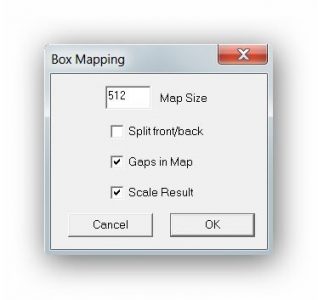
In the box that pops up, input 512 for the map size, untick ‘Split Front/Back’ and tick ‘Scale Result’:
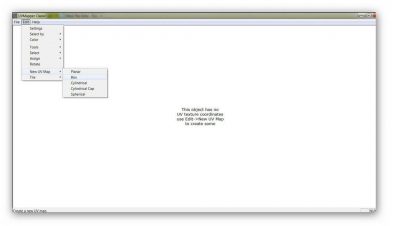
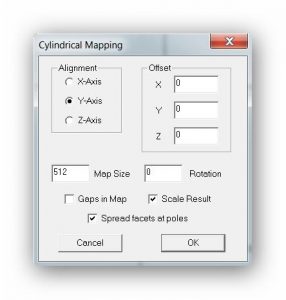
Again, ‘Edit/Select/By Group’, this time select the leg. Now ‘Edit/New UV Map/Cylindrical’. It’s always best to try and map each part using the shape it’s closest to. I used cylinders to create the leg, so I’m going to map it using a cylinder. In the box that pops up, enter 512 for the size, untick ‘Gaps in map’, tick ‘Scale Result’:
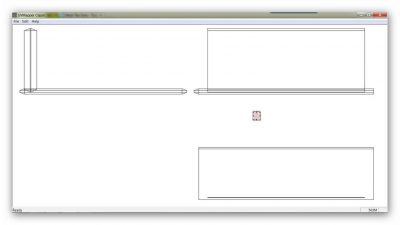
Now you should have something that looks like this:
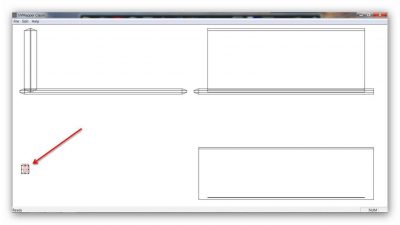
Using your mouse, drag the selected leg to the bottom-left out of the way:
Now ‘Edit/Select/By group’ and select the back. Then ‘Edit/New UV Map/Box’. Make sure the size is 512, untick ‘Split..’ and tick ‘Scale…’:
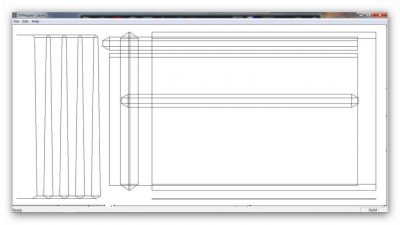
Now do exactly the same thing for the seat, and you are left with something like this:
See all the wasted space on the map? We want to make sure as much of the map is filled as possible, while trying to keep all the pieces their original shapes. i.e. don’t turn them from rectangles into squares or your texture may look bad! What we are going to do is select each piece, resize and move them. Because the back and the seat are going to be the same texture, we can move them so they overlap each other. Select each piece using your mouse, then resize them and move them to where they can use as much space as possible:
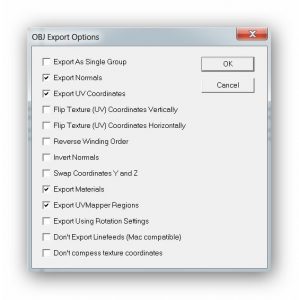
Once you’ve done that, from the top menu, click ‘File/Save Model’. Leave the options as they are and click ‘OK’:
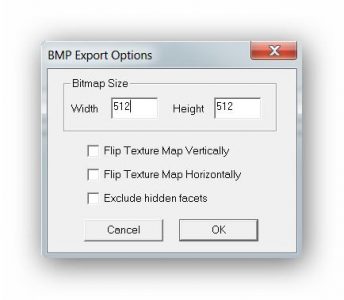
Now we need to save the map as an image file so we can edit it. ‘File/Save Texture Map’. Make sure the size is 512×512 and save it to the same place as your files and call it what you want. I usually go with just ‘map’:
Go back to Wings 3D. From the top menu, click ‘File/New’ and click ‘No’ when asked to save. Import the mesh you just mapped. We are now going to create the rest of the chair legs. In the right window, right-click on the leg and select ‘Duplicate’:
Select the new leg, right-click in the main window, click ‘Move/X’ to move the leg to the other side:
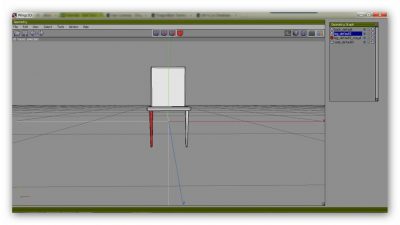
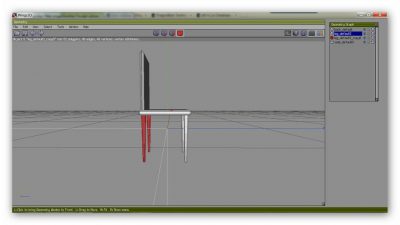
Make sure the cube 4 is selected at the top, select both legs, right-click in the main window and select ‘Combine’:
Now the 2 legs have become 1. Duplicate this combination to create another 2 legs, which you can then move ‘Z’ to place at the back of the chair:
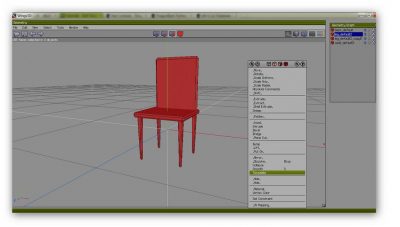
Click cube 3 at the top, select everything, then ‘Tessalate/Triangulate’:
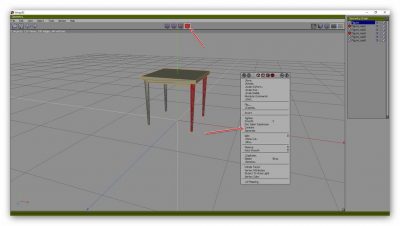
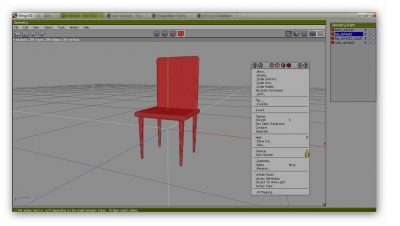
This is a necessary step. If you don’t do this, your mesh will look really messed up! To make the edges of your chair a little more defined, click cube 4, right-click and select ‘Auto-Smooth’. Click the little icon to the right of ‘Auto-Smooth’ then click ‘OK’:
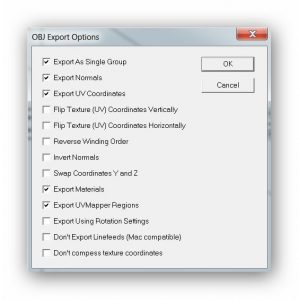
Now export your mesh and overwrite your map file, or save it as something else – and close down Wings 3D as we’re finished with it now. Don’t save the file. Re-load it in UV Mapper. Now save model, but make sure ‘Export as single group’ is checked:
Creating the texture
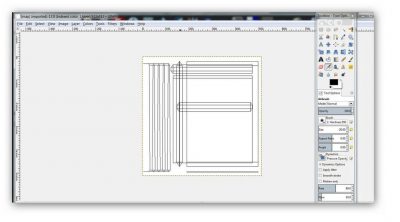
Close down UV Mapper and open up Gimp (or whatever image editor you prefer) and open up the texture image you saved earlier:
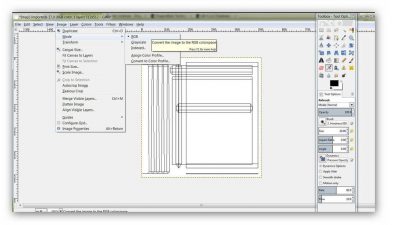
At the top, click ‘Image/Mode/RGB’. This is essential for your image to import and show correctly:
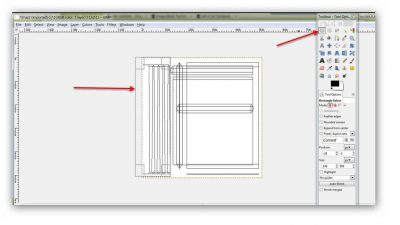
I’m going to start with the legs. I use the rectangle select tool to select the legs in the image:
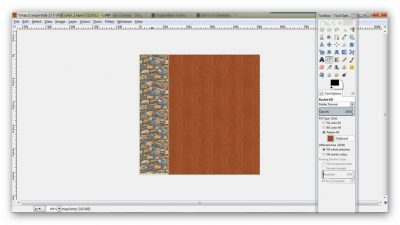
Now I have tutorials here that go into image editing using seamless images – image editing is beyond the scope of this tutorial, but there is so much more you can do, such as adding shadows etc. However, this is just a basic tutorial. You need to fill your image with whatever textures you prefer:
Click ‘File/Export’ and either overwrite your map or save it as something else.
Putting it all together
Open up SimPE. We’re going to re-import the mesh and texture and give the file a new game ID so it doesn’t overwrite the object you cloned. Open the file you saved earlier:
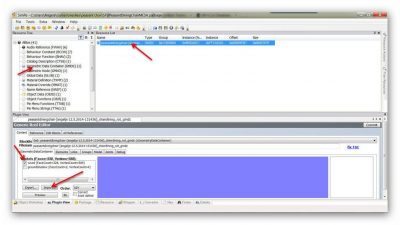
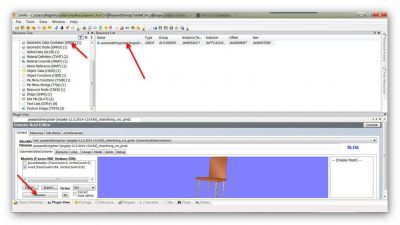
Select ‘Geometric Data Container’, and on the right, click on the dining chair file. At the bottom ‘Plugin View’, make sure just the ‘wood’ box is checked, and import the mesh file you just created:
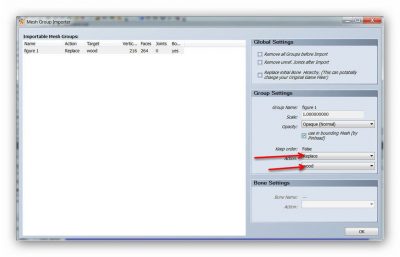
In the box that pops up after import, select ‘Replace/Wood’, click ‘OK’ and them ‘Commit’:
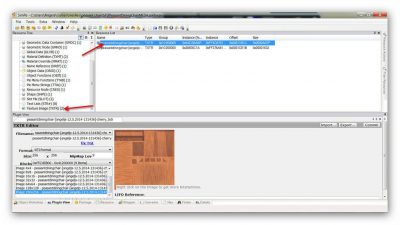
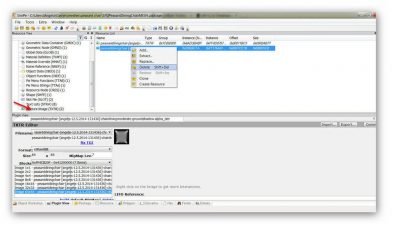
That’s your mesh imported. Now for the texture images. In the Resource Tree window, at the bottom, click ‘Texture Image’. There are 2 image files that you will see in the right Resource List. The bottom one is the shadow image, but the top one is the one we want to change. Click on it to show the image below:
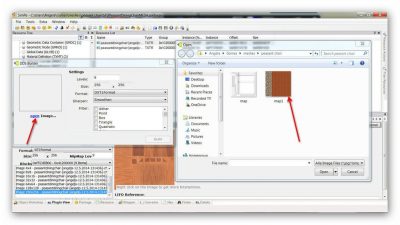
Right-click on the image and select ‘Build DXT’. If the option is not there or is greyed out, you either haven’t installed Nvidia DDS Tools or the path is wrong. Please see the very top of the first page of this tutorial for info:
Click ‘Build’ to import your image and it should now show in place of the old one. Click ‘Commit’ and then ‘OK’:
Now we can have a sneaky-peek at the finished item to make sure it looks okay before we do anything else. Go back to ‘Geometric Data Container’, click on your file, then at the bottom click ‘Preview’. Give it a minute and your new item should show up:
If it looks okay, celebrate, you’ve done fabulously! If it looks not right, you’ve missed something and need to go through all the steps again. 🙁
Now a word about shadows – I’ve never created a shadow file for any item, I’m not quite that advanced as yet, but there are tutorials out there that deal with it. However, for this purpose of this tutorial, I’ll show you how to simply delete them so they don’t look odd with our new chair! If you are still in the preview window, click ‘Groups’, select the ground shadow file, delete it and commit:
Now go back to the texture files, right-click on the shadow file and delete:
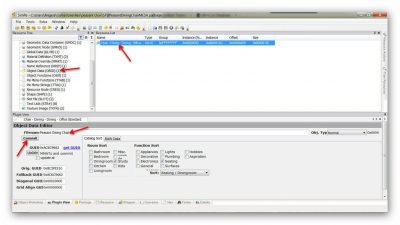
Now we’re going to change the GUID so the mesh doesn’t overwrite anything in your game. Go to ‘Object Data’, select the file, rename it and click ‘Commit:
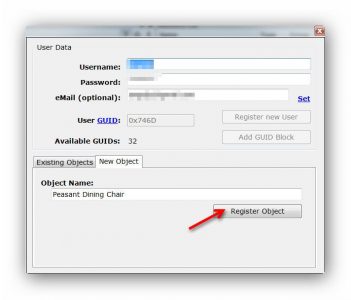
Now click ‘Get GUID’, and in the box that pops up, either register as a new user or sign in, then click ‘Register Object’:
Click ‘Update’, then ‘Commit’:
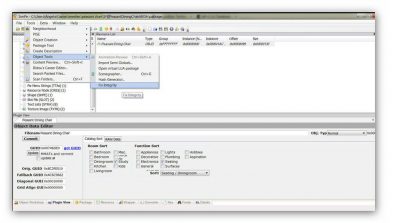
Now your new object shouldn’t overwrite anything. Just one more thing before we test it out – from the top menu select ‘Tools/Object Tools/Fix Integrity’, then just click ‘OK’ in the box that pops up:
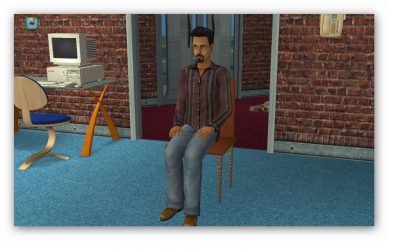
Click ‘File/Save’ to save your new mesh file, then ‘File/Save As…’ to save it to your Sims 2 downloads folder. Now we start up our game to see if our new item is there and can be used! I use AnyGame Starter to see if my object will show up in the base game.
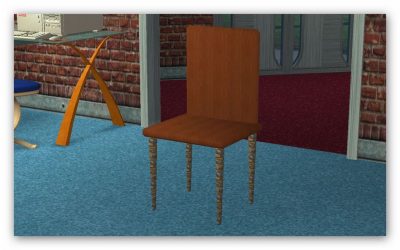
Does yours look as hideous as mine? Well, who cares, because you’ve just created a brand, new mesh, so no matter what it looks like, it’s an amazing accomplishment. Have a cuppa, grab a nap, then try again, and again and again. It’s all about getting used to the process, and once you have, you can do anything!

You must be a logged in member to download this file











Recent Comments