 Absolute Beginner’s Guide To Building A House – The Sims 2 (Views:
33,023
)
Placing The Lot
When I first attempted building a house in the Sims 2, I just started with a huge square with a roof, that I filled with small rooms etc. It was a mess! I soon discovered that smaller is better, and if you want to build houses for other people to download, they appreciate base game lots with no custom content.
I’m not saying I always do this…plenty of my lots have all packs and lots of custom content, but by far the most popular with other people are the ones mentioned above.
Okay, go on and fire up your game:
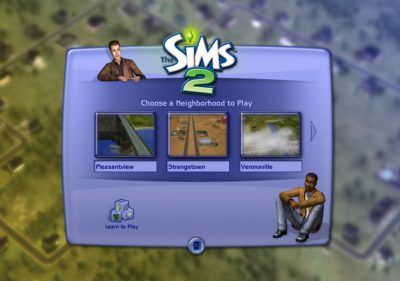
For funsies, we are going to create a new neighbourhood and build our house there. In the image above, see the clickable triangle to the right of the neighbourhoods. Click it and then click the ‘Create Custom Neighbourhood’ button with the ‘+’ on it.When you come to select the terrain, just choose what you like. I have a personal preference for the Crystal Springs terrain.
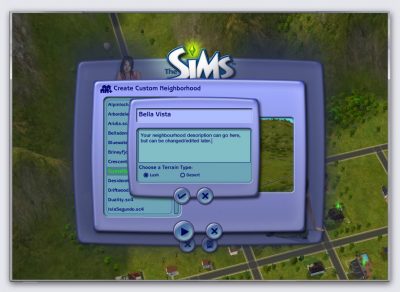
Select your terrain, either lush or desert, then input the name and description (description can be filled in later, if you like):
Click the tick, then your new neighbourhood will be created. It’s a bit out there, but you can decorate and fill this neighbourhood with all of your own custom lots, Sims, decorations etc…it’s great fun, and the one thing that’s sadly lacking in the Sims 3.
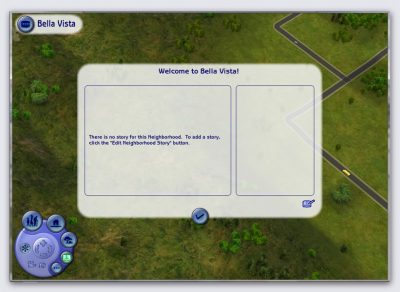
Don’t bother to create a neighbourhood story yet…wait until you have something to enter. For now, just click the tick again:
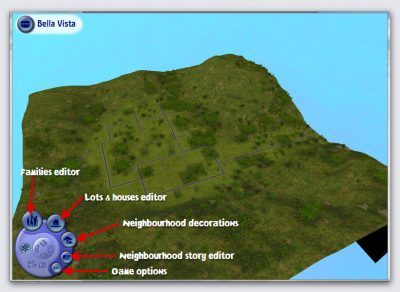
In the image below, you can see the neighbourhood screen, looking rather bare and lonely, with everything that you need to know labelled, so you can keep referring to this image if you like:
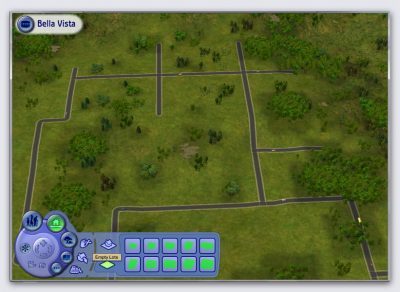
Click on the lots and houses editor, and select the empty lots option:
Select the smallest lot (3×2) by simply clicking on it, then drag it and place it next to a road. The arrow must be touching the road, and you can turn the lot around by using your mouse.
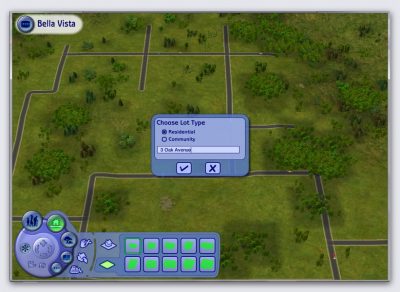
For now, we will be creating a residential lot, so make sure that option is selected, then click the tick:
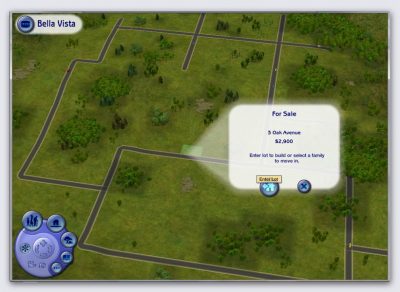
Enter the lot simply by clicking on it and then on the little house with the arrow:
Building The House
Okay, you are now in your empty lot, ready to build your masterpiece.
For the sake of simplicity, we will build a nice, little bungalow with a veranda around it. Here are the mouse controls to help you get all the right angles:
Middle Mouse Button – tilt or rotate camera by clicking and holding it down while you move the mouse around; scroll it without holding it to zoom in and out.
You can see the keyboard control keys here.
We are going to start by creating some decking that will form part of the veranda. Please note that because this is just a base game tutorial, we won’t be able to do anything fancy with the roofs etc., but there are one or two helpful cheats we may use.
Go into build mode and select ‘Foundations & Decks’:
Select one of the top decks as these are the normal square ones, and the bottom ones are for diagonal placing.
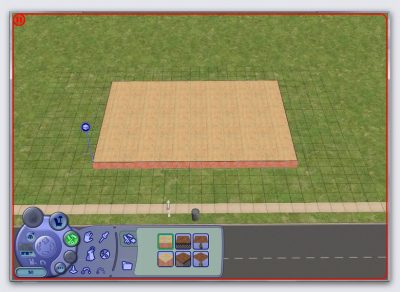
Drag the cursor to make quite a large foundation…we can always delete bits later if it’s too much:
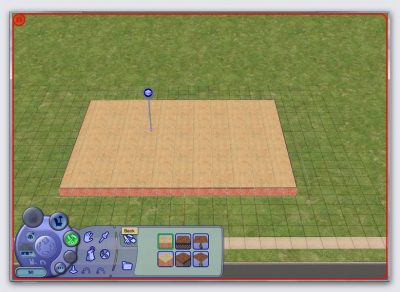
Click the back button:
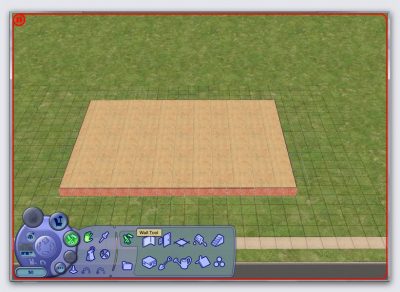
Then select the wall tool:
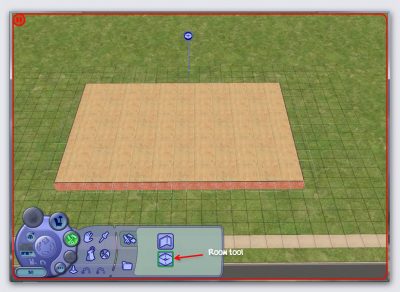
Then the room tool…it’s easier to build a whole room than do it wall by wall:
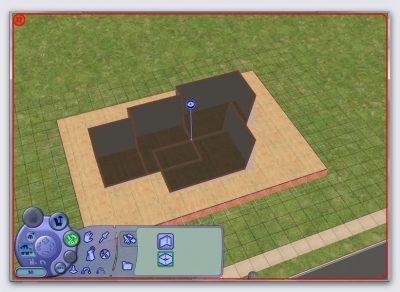
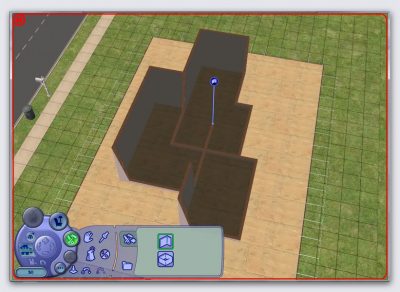
Pick a spot and drag the cursor to create a few rooms of varying sizes. You can always use the wall tool to delete surplus walls inside:
To delete a wall, select the wall tool above the room tool. Move your cursor to the start of the wall you want to delete, keep your ‘CTRL’ key on your keyboard pressed, and drag the cursor along the wall to delete it:
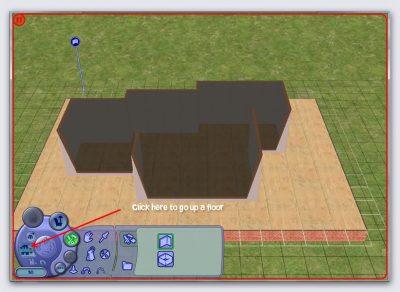
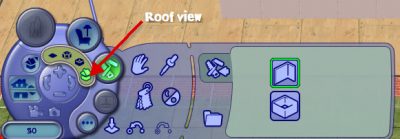
Go up a floor, then select the roof view:
We are going to put the roof on, so in build mode, select roofing:
If you don’t want to mess around with the roof too much, you can just select an auto roof:
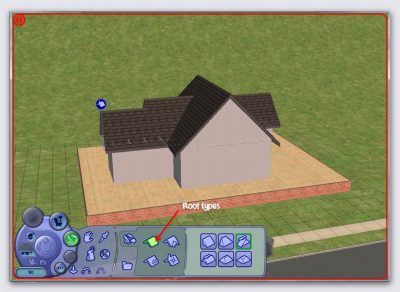
However, I just mess around with the different roof types myself, using different combinations:
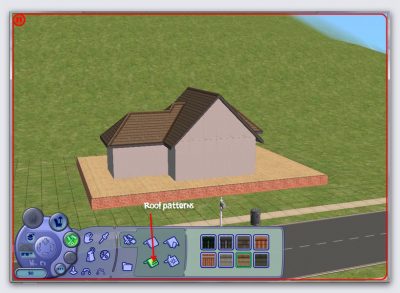
Then you can select a roof pattern that you like:
As you become more experienced, you will find your own way of building, but I like to complete the outside before I do the inside…it’s just my way. ![]()
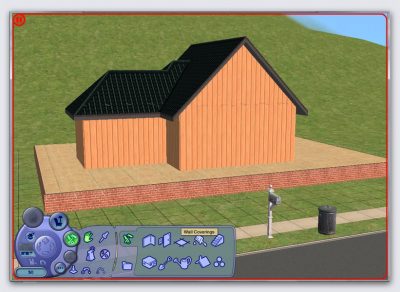
Select a wall covering that you like:
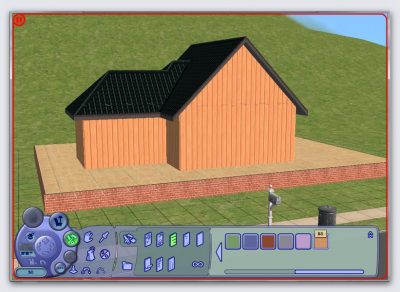
I’ve chosen a wood-based covering, but you can obviously choose any you like. Once you have selected one, place your cursor on one of the walls and hold down the shift key on your keyboard as you click…this will fill the walls faster. Do this for any bare patches, such as where the roofs are etc.:
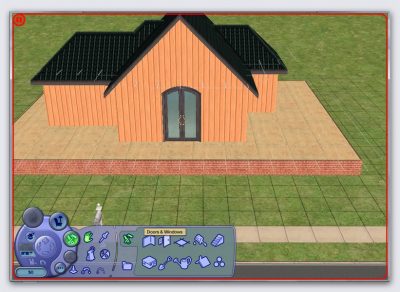
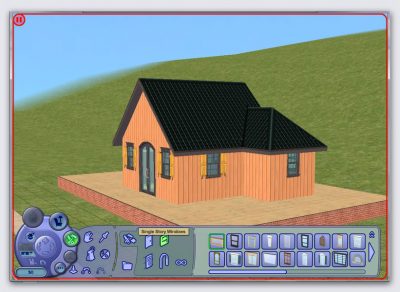
Next, choose a door and some windows and add them around your house. They don’t have to be the same windows all the way around…just experiment with different ones until you are happy:
This is where I would start shaping the veranda outside. Select a foundation in ‘Foundations & Decks’ again, and use the ‘CTRL’ key as you select pieces of the foundation to delete. I’ve deleted parts in a diagonal shape by using the bottom foundation shape:
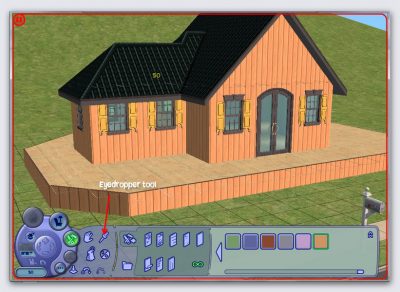
If you want, you can colour the outer walls of the foundation. If you want it to be the same as the house, you can use the eyedropper tool. Just click on it, then click on a part of the house wall – this will select the same decoration, and you can just shift/click on the foundation wall to colour it:
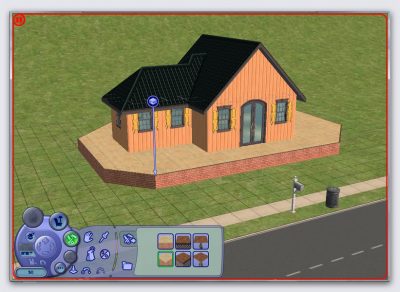
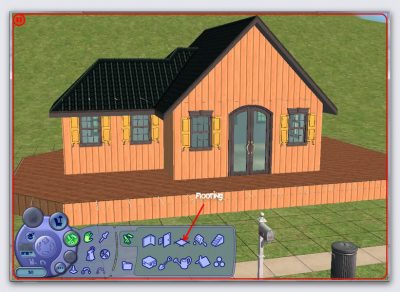
Choose your flooring for the veranda, and again hold the shift key as you click on it so it fills it all in one go:
Again I’ve gone for the wood-based flooring to match the theme, but do try to experiment with various ones.
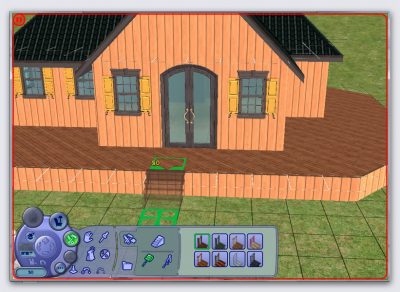
To add some steps down to the ground, click on the stairs tool, as you can see in the image above, and select some connecting stairs. Place them at the front of the veranda, so the green image comes up to show you they can be placed from there to the floor. If the image is red, it means they can’t be placed there:
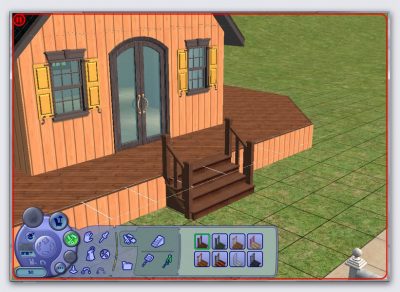
Next use the railing tool. Click on it, then move your cursor to the stairs, when the railings appear, click to set them:
Click the miscellaneous icon:
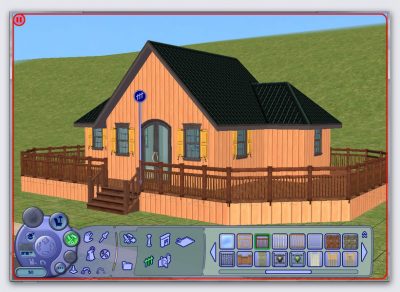
…and then the fence tool to select the fencing that will go around your veranda:
Once you have selected your fence, click on the veranda and drag the cursor around to place it:
Now you can leave it there if you want, while you concentrate on the inside.
Inside
and go down one floor. Select the wall tool and create some rooms in your house by dragging the walls with your cursor:
Add some doors:
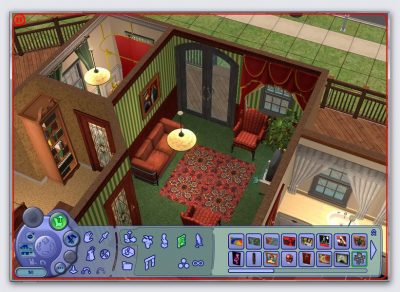
Then you can either decorate the rooms, of furnish them and decorate later. I always do the latter in case I need to move any walls…it just saves messing around. Enter build mode and furnish your home:
I had to move a couple of doors around as my lounge is very small, but this home would be ideal for a single Sim.
Once you are happy with the décor, go back into build mode and decorate the walls and floors the same we we did with the outside of the house. I always put the walls up at this point, so I can see the rooms properly and see where to place pictures etc.:
I’ve used a useful cheat for placing the games console under the television. Press ‘CTRL/Shift/C’ at the same time on your PC to bring up the cheat box. Type ‘moveobjects on’ (without the quotes) and press enter. This enables you to place objects where they can’t normally go, and you can move the outside bin and mailbox. However, please remember to turn this cheat off as it can be a bit of a nuisance. Just type ‘moveobjects off’ in the cheat box to do this.
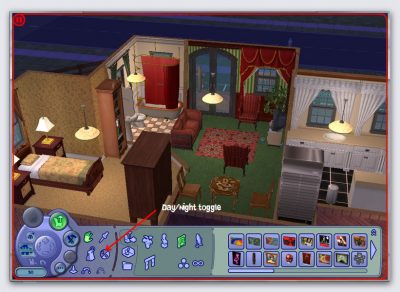
Don’t forget to add lights! To make sure they are turned on as you add them (usefull for taking night-time screenshots), just click the ‘Day/Night Toggle’ button before you add the lights:
Don’t forget to regularly save your lot in case of power lapses etc.:
Probably should have mentioned that earlier!
Outside
Now you can bring the walls up and go up a level to get the outside view again. You can visit the garden center to decorate outside, and add furniture, fencing etc. to get it just how you like it:
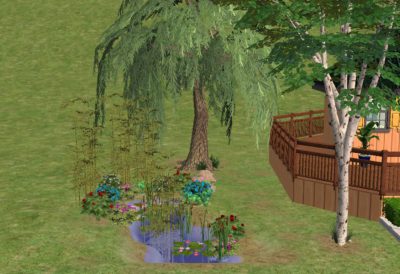
For the pond I use another useful cheat along with the moveobjects on cheat…bring up your cheat box and input ‘boolprop snapobjectstogrid false’. This will enable you to move objects without them snapping to the square grid…one of my favourite cheats, but remember to switch them both off! Just change ‘false’ to ‘true’ to turn this one off.
You can see the effect here:
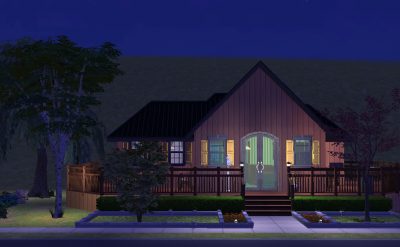
Toggle the night-time again, and add some outside lights to finish off:
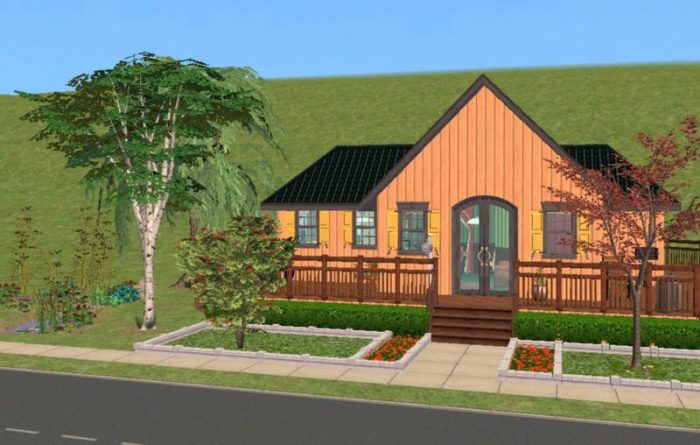
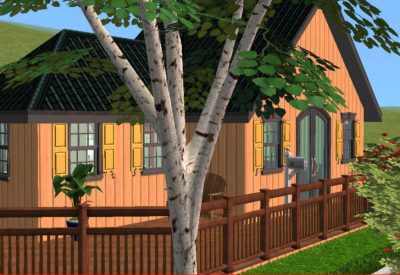
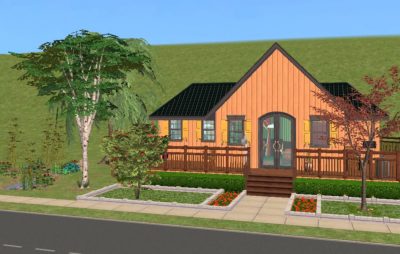
And you’ve just finished creating your first house! Okay, this is very simple, but you can experiment as much as you like. Create lots with 2 or three floors, create starter homes, fancy mansions, anything you want!
Tip: Use the design tool to change any item that has several designs/colours. Just click the tool, then click on the item you want to change, then click the tick.
I hope you could follow this tutorial okay, but please let me know by replying to this post if you have any problems.
Thank you for reading!

You must be a logged in member to download this file






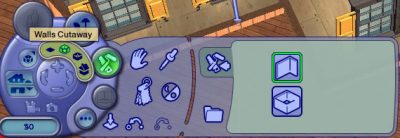
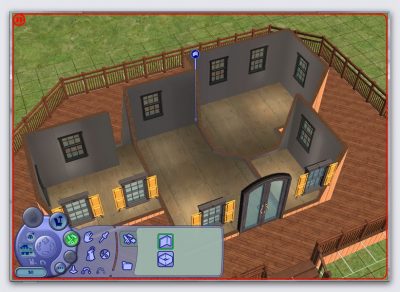
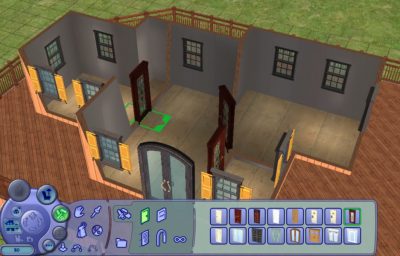
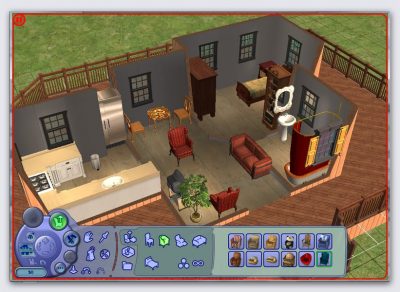


The best way to learn is to find a house and/or floor plan online and see if you can copy it. My houses are always better if I’ve based it on a real one. 🙂
This makes me want to build a base game lot!!
Go on, then! Your base game lots are always so very unique. 🙂
The most important thing to remember is to find your own technique and style, and to have fun!